Hey, Kids! I’ve got something for you! Lately I’ve been tossing around different ideas for branding my crochet goodies and have been trying different ideas for adding tags to my hats, headbands, scarves, etc. I decided that making my own stamp and stamping out tags would fit best with my “hand made” ideology. So I made a stamp and bought a fabric ink pad, and because it worked oh so well I thought I would share the idea with you! So here goes my *gasp* VERY FIRST TUTORIAL! Bare with me.. it’s not perfect but you’ll get the gist.
What will you need?

- Wine cork – actual cork material works best; try to stay away from the foamy material like I used here (it’s all I had on hand) or else you’ll have a lot of holes in your stamp. But if that’s the look you’re going for then go for it!
- Exacto knife
- Scissors – I didn’t use these for the stamp in this tutorial but if you don’t have an exacto knife, sewing scissors work well; they just aren’t as precise as the blade.
- Tissue paper – Color doesn’t matter..
- Pen – Try to use an ink pen like the one in the photo, not a ball point. You’ll need the ink to bleed through the tissue paper and transfer onto the cork.
1: Cut the cork to size

For this stamp I will just be making a tiny heart to stamp on small pieces of shoe lace, so I used a knife to cut 1/3 of the cork off. I will be using the inside area of the cork as my stamp. Essentially I can get 3 small stamps out of this one cork.
2: Make an outline on the cork so you know what area you’ll have to work with.

Because my shoe lace is thin, I need to know how big to make my heart so it will fit onto the shoe lace. I laid the shoe lace on the cork and used that as a guide to how big I could make my heart.
3a: Draw your shape inside of your outline

I free handed a teeny heart for my stamp =)
3b: If you want to use more of a difficult stamp pattern such as lettering…
Use your pen and tissue paper to draw or write your desired pattern. I used my initials as an example. Cut the tissue down to size so it’s easy to lay over the cork. Flip the piece of tissue paper over so you see the backwards image of your text or image. Because I used an ink pen rather than a ball point pen, the ink bleeds through to the other side making it easy to see the text or image.

3c: Lay your tissue paper on top of the cork and trace the image or text using your pen.

Make sure you go over the image 2 or 3 times so the ink will bleed through and transfer onto the cork. You’ll end up with a faint image like this:

4: Back to my heart.. Use the exacto knife to first cut away outside of your outline. Please don’t cut yourself!!!

The outline is helpful here because you can basically whittle your way down to the true stamp shape. Start by cutting along your outline and then cut around the cork perpendicular to your cuts. You’ll end up with this:

5: Cut away the excess until your image/text is left
Here is where the precision comes in.. You need to be a little more precise with text, and that’s where an exacto knife comes in handy.

6: Stamp away!!

I hope this was easy enough to follow.. After all, it is my first tutorial! If you will be stamping on fabric you’ll need a fabric ink pad. VersaCraft is a great brand and comes in lots of fun colors. I found mine on eBay for around $7. If you’re using this ink, make sure you let the stamped fabric dry over night and heat set it. Lay a piece of fabric over your stamped fabric and use a hot iron back and forth for about a minute. Once the ink is heat set it will be permanent and can be washed without the ink washing off.
I made another stamp for my crochet tags. This was before I bought a new exacto knife so I used sewing scissors to cut away at the cork. The lines aren’t as clean but it works just fine and I kind of like the imperfect look of it!

Now that I have tags on my hand made goodies I kind of feel legit! I love how the small tag looks and the hand made stamp just adds to the hand made beauty of a crocheted hat or scarf. My thoughts are that the more love and thought you put into your work, the more it will be loved and cherished by whoever receives it =) Now, to what will you add your personal touch??

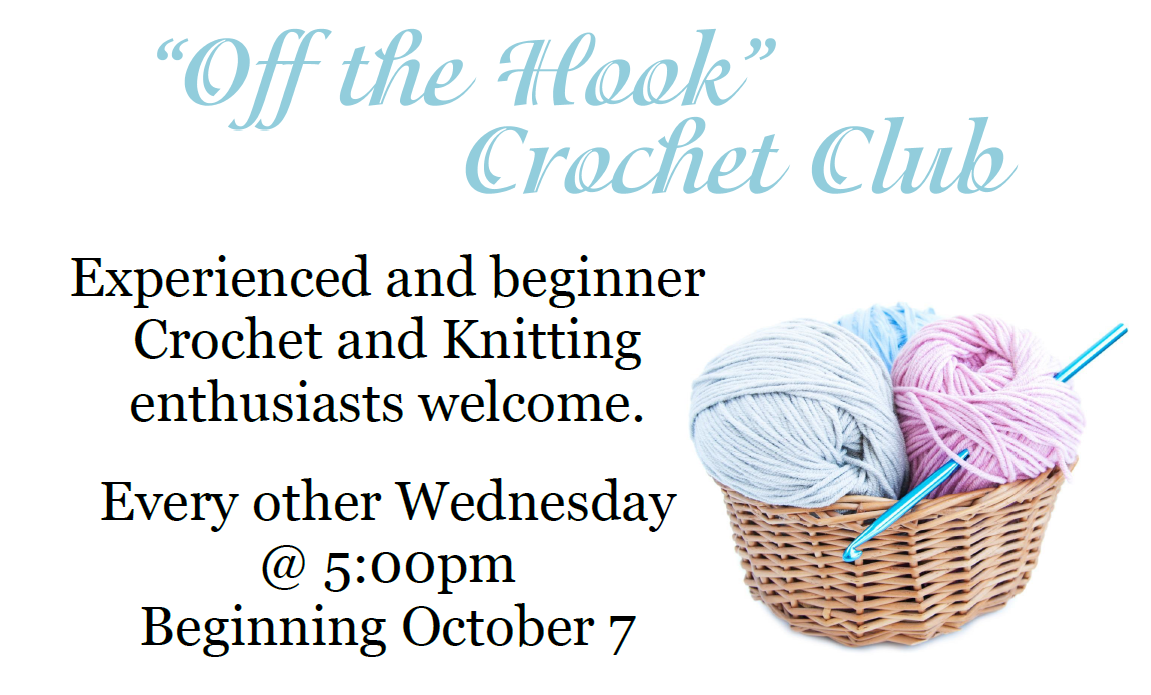 So, if you’re one of my Off the Hook members reading this, HELLO! I can’t wait to get started on October 7 and finally crochet at work without it being frowned upon. Yeeeeaaaaaaah!
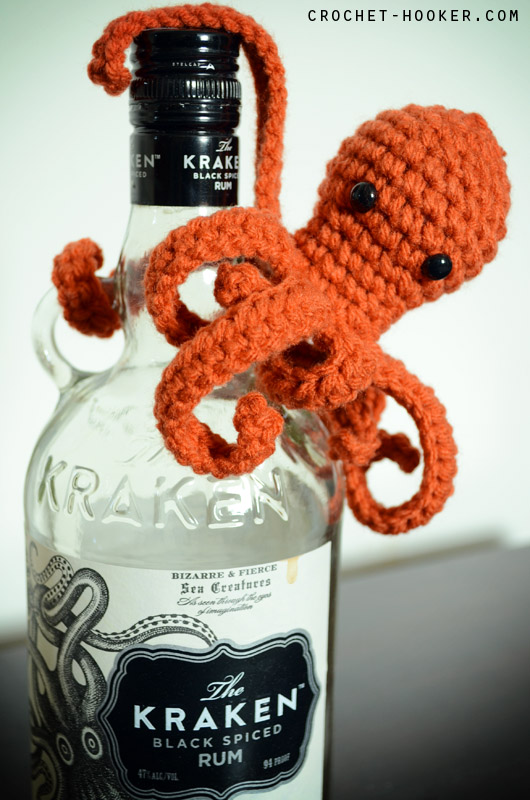
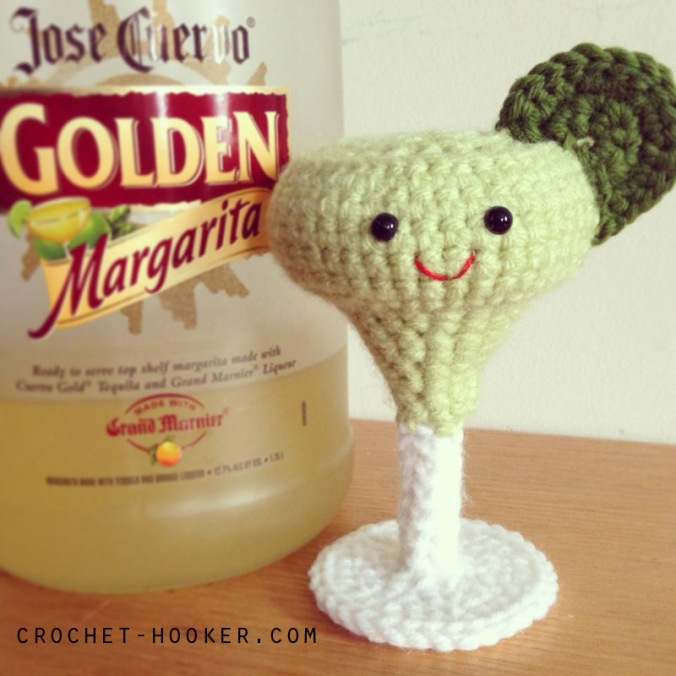
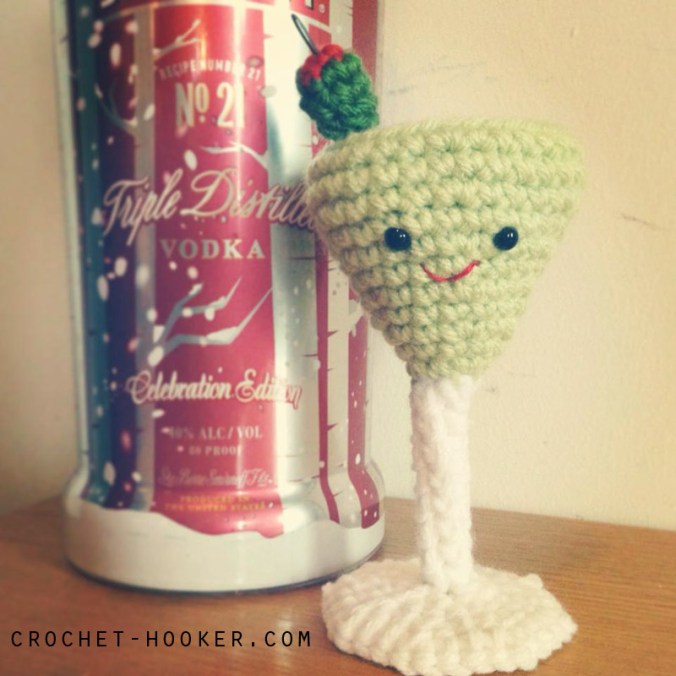 Enjoy, and crochet responsibly!


